It's all stitched on one long piece of fabric:
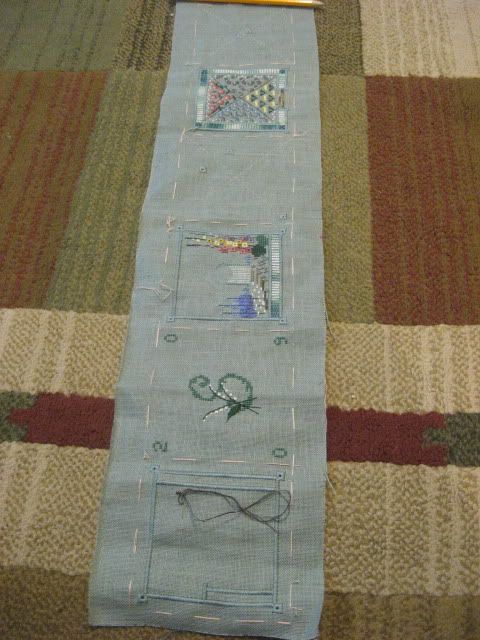
This will be the cover: I need to add some wording in that big empty space.
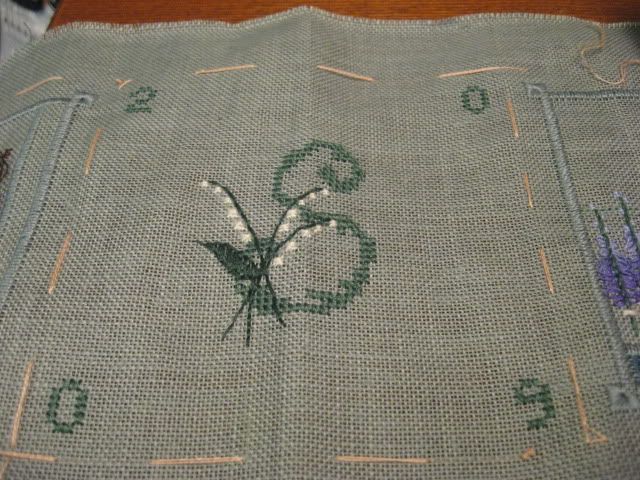
This will be the back. I picked the initial pattern from an antique stitching book that I found in my Grandma's things when she passed away years ago.
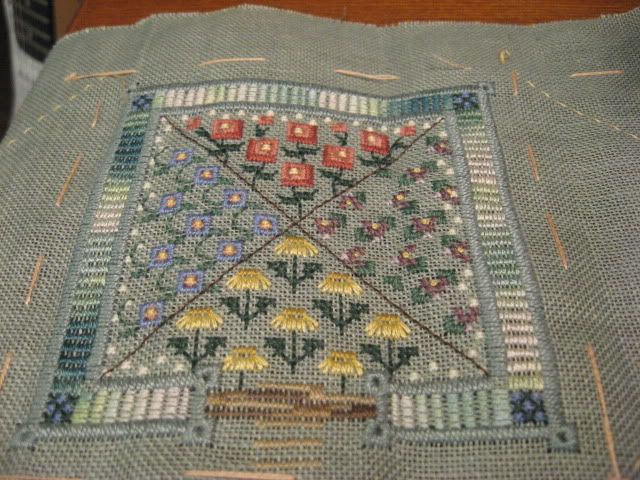
One of the stitched panels that will be inside the little book.
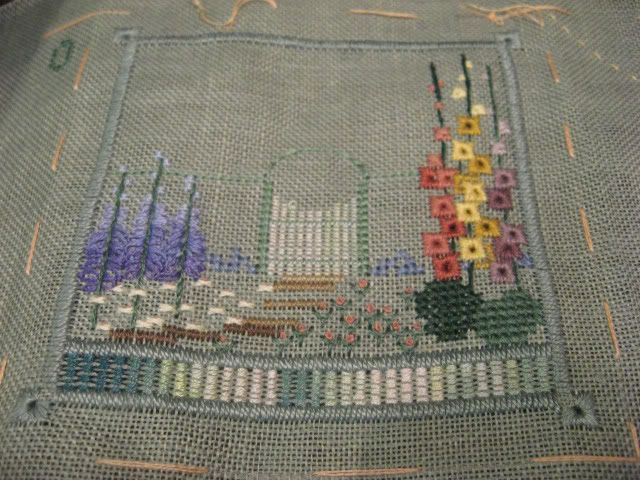
I am somebody who stitches exactly what's called for on the pattern. Very rarely do I adjust a single thing on a pattern. In the middle of this Secret Garden, is a secret garden behind a little gate that actually opens. Well, wouldn't you know, the secret garden really is a secret! I have to stitch the whole thing with whatever flowers I want to stitch! SCARY!! Above this blank space is a branch with a bird, but the rest I have to design myself!! YIKES!
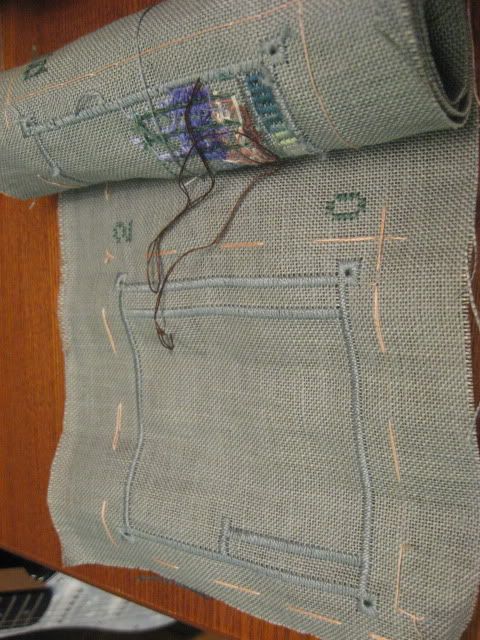
Since I took this picture, I'm almost finished with the above section. And I've added the two pockets to the other two panels.
Almost finished! If I can find time to stitch tonight, all the stitching will be finished, then I just need to add the charms and sew it together.
6 comments:
This is very pretty! COngrats on wining the Sisterhood pattern next :)
oh Sara - this is just gorgeous. I look forward to seeing it put together.
It's beautiful, Sara!
I love this gorgeous design.
I do hope you will put up more photos when you have finished. Who is it by - Lauren Sauer?
Sheila, yup! That's her..I had to go look at the pattern to make sure. Does she have other similar patterns out?
What a wonderful blog. I love your small finishes. Thank you for stopping by my blog. There is no secret to the "perfect circle". I just make a circle template and put the stitched piece on there just like what my floss ring tag tutorial. But of course practice makes perfect.
Post a Comment